
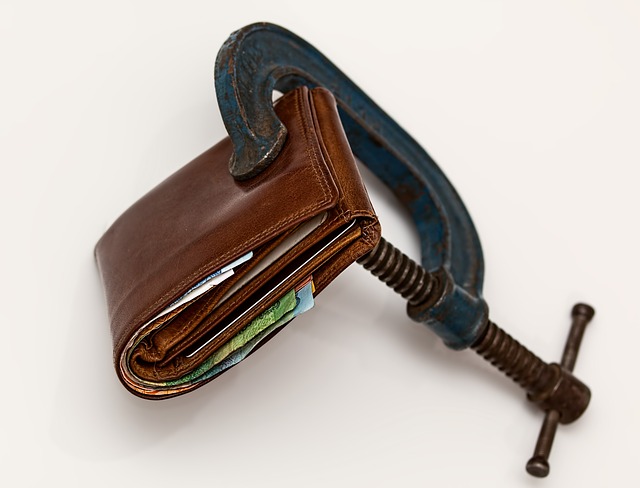
We here at Blogging Cents are committed to helping you make the best budget conscious decisions possible. So why are we talking about vacations? Well, vacations are a great way to clear your mind and get you to stick to your goals. If you have a plan to save $300/month on food/restaurant bills by making using the best shopping deals and using smart, conscientious decisions at home, then you need to reward yourself with something. And that’s why we recommend working towards a vacation.
How Hotwire Promo Codes Can Help:
But it doesn’t mean you need to forget everything you’ve learned here. You can still create an amazing, relaxing vacation without blowing up all the savings you’ve earned with smart decisions. You can book your trip using coupon code websites that’ll save you on your flights, hotels, car rentals, and more. There’s a Hotwire promo code that’ll save you $20 off per night at most hotels, which adds up to $280 in savings over 2 weeks at a hotel. You’re saving already! Also, combining flights and hotels in vacation packages tend to come with discounted pricing. You can even search for coupon codes for vacation packages as well.You can also search apps like and for discounts at various restaurants in your chosen location. And remember to use Open Table so you can stroll into any restaurant and get a seat while everyone else waits in line like it’s the 1990’s. Here are some more budget travel ideas:
Which is a Smarter Strategy: Clipping or Printing Coupons?
On the surface, it appears that a printed coupon spends the same as one clipped from the newspaper. Digging deeper, there are a few crucial points of difference that will affect your coupon strategy. It’s important to understand how stores will treat these two types of coupons differently, and using both of them means memorizing a longer coupon policy for each store you visit. If you had to choose one, are clipped or printed coupons better for your strategy?
Printable coupons can usually be found with higher values than clipped coupons. For example, you might see a coupon in the newspaper for 50 cents off an item, but find a printable coupon for $1 off. This is not to say that coupons in the newspaper can’t be worth a lot, but generally, the very best coupons are located on company websites. The catch is that you can only print one or sometimes two copies of those high-value coupons. You can easily get as many copies of the lower value newspaper coupon as you want.
The next factor to consider is the amount of money that you spend getting the newspaper. Sunday newspapers range from $2 to $3 per issue, and the value of the coupons inside vary from week to week. You can save money by purchasing subscriptions, but some weeks won’t have any coupons inside. For printed coupons, the costs include ink and paper for the printer, but you can pick and choose only the coupons you’ll use. Another benefit to printed coupons is that they are available whenever you have time to get them, whereas if you don’t have a newspaper subscription you’ll have to remember to go get papers every week.
All told, the best coupon strategy includes using the best of both worlds and using the two coupon policies in tandem. But in the real world, you might not have time to incorporate both. In that case, the question to ask yourself is how many coupons will you realistically be using at the grocery store every week? If you are interested in building a stockpile and using a lot of coupons, the newspaper will yield more coupons which allows you to buy things in bulk. If you’d rather just print coupons to save money as your family needs things, printed coupons might be a smarter time investment.